
I’m pretty sure I’ve said before that I have a thing for dog leashes. I’m not one to own one or two leashes and call it good, no, I own many leashes for many different reasons and occasions. I have … Continue reading

I’m pretty sure I’ve said before that I have a thing for dog leashes. I’m not one to own one or two leashes and call it good, no, I own many leashes for many different reasons and occasions. I have … Continue reading
Yesterday I mentioned that I would be sharing a training treat recipe with you today. This recipe is really simple with only 3 ingredients (4 if you wanna count the splash of water) and can easily be used to make regular sized cookies if that’s what you want, but I used it to make tiny bite sized training treats.
Petal loves peanut butter and bananas. Peanut butter has a strong smell to it, a smell that Petal loves and will work for. Bananas are delicious, nutritious and add a sweet taste to the treats.
Here’s what you will need:

I used Krema peanut butter because it’s made with just one ingredient: Peanuts.
Mix together banana, peanut butter and flour. Mix it well. Then add a splash of water and mix well again. Do not go crazy with the water or else you’ll end up having to add a whole lot more of the flour and then you’ll be baking all night. I am speaking from experience. Don’t know what I was thinking adding a whole cup of water. Way too much. Just add small splashes, mixing well before adding more, until you get a nice dough. A good way to tell is to touch it. Did the dough stick to your finger? You need some more flour. Did it feel dry and crumbly? You need more water.

First picture: banana and peanut butter. Second picture: banana, peanut butter and flour. Third picture: banana, peanut butter, flour and water.
On a lightly floured surface begin rolling out your dough to your desired thickness. Then use small cookie cutters to cut little bit sized cookies. I used piping nozzles. They made just the right shape and size I was looking for. Plus I could use the other side to poke a little design into the top of the cookie, just for fun.

Piping nozzles as cookie cutters.
Yes, this did, indeed, take ages. Hours. So I didn’t bother to preheat my oven until I had already cut out a few cookies. Preheat your oven to 250 degrees.
Line a cookie sheet with parchment paper and load that thing up with cookies. Go ahead and place them close together, they’re not going anywhere. 😉

Loads of training treats!
Pop your treats into the oven and bake at 250 for 30 minutes. Allow them to cool for several hours, or over night in the oven, before storing them. I stored mine in an air tight cookie jar and they still smelled yummy a week later. However, if you’re concerned, you can store them in an air tight container in the fridge.
Petal loved these treats and they were the perfect training treat size; probably about the size of a US penny. Petal worked very well for them, making it worth all the time I spent cutting out tiny little circles. 😉

Today we’re joining the Tasty Tuesday Blog Hop hosted by Kol’s Notes and Sugar the Golden Retriever.
Today we are joining the This ‘N That Thursday blog hop, hosted by 2 Brown Dawgs & Ruckus the Eskie, while we share what Petal got for Christmas!
Petal was a very good Collie this year. Which means she received a ton of gifts. It had nothing to do with the fact that she’s spoiled. 😉

Mom, no one wants to see Rudolph. They want to see ME!
Poor Rudolph. Petal shoved him out of the photo. She waited until the day after Christmas before being naughty.

A closer look at all her toys. The blue KONG Squeezz stick & the Wet Noses cookies are from our friends, Carly & Sailor. Thank you both so much! She loves them both, but especially the cookies. 😉 The rest are from me. I mean, Santa.
I got her a little stuffing-free squirrel/skunk/something animal (it has a few squeakers and some crinkle paper, Petal’s favorite), a stuffing-free crinkly Santa, a dinosaur stuffie, a Christmas owl water bottle cover, a stuffed Rudolph and a new bed cover that I made myself.

Reversible bed cover made by yours truly.
See? She wasn’t spoiled at all. 😉
By the way, those Wet Noses cookies are a huge hit. I’m also a little proud to say that I knew exactly what toy you and Sailor had give her, Carly. I knew just by touching it. That is how often I go to pet stores and play with the dog toys. I recognize a KONG Squeezz stick without seeing it. If that doesn’t say crazy dog lady, I don’t know what does.
I got some really wonderful gifts too, but this one is the one that touched me the most.

Thank you Mom & Dad. <3
A ring with Lassie’s name on it. A ring that will never leave my finger.
I hope you guys had a Merry Christmas and Petal wants to know, what did you pups get for Christmas? Were you naughty or nice?
P.S. For those who may be curious, the ring is from Silver Promo.

Blog Hop!
Powered by Linky Tools
Click here to enter your link and view this Linky Tools list…
In an effort to keep my mind busier lately, I’ve been crafting. All dog related things so far, of course.
Earlier this month I made a Christmas ornament with Petal’s paw print. Something I had always meant to do with Lassie and Ella’s paw prints, but never did. But we won’t talk about how much that upsets me, especially after finding that it was a really simple and extremely cheap project.
Instead we’ll just be happy that I did this with Petal and admire how it turned out.

I followed the simple tutorial from Sew DoggyStyle. I think the hardest part was balling up and then rolling the Sculpey clay out. That stuff was SOLID. I ended up using a rolling pin and temporarily staining it red. Then trying to shape it into a nice circle? That took some time.
The easiest part was actually getting Petal’s paw print, thanks to my Mom feeding her treat after treat while I squished her paw into the clay. To avoid having my handprint squished into the other side and messing up the circle I spent so much time on, I laid the clay on a clean, glass, cutting board and laid the cutting board on the floor before pressing Petal’s paw into it.
I ended up having to take that rolling pin to the first paw print and gently roll it out because it was hardly noticeable. I pressed too gently, afraid she’d fight me on it or worse, that I’d hurt her. After my Mom reassured me that Petal didn’t even flinch or care about anything but the treats she was being fed (it was chicken, by the way, the good stuff!), I did a better job the second time and luckily didn’t have to do it a third time. I pressed on each individual toe and even wiggled them just slightly.
After that was done, I made a little hole to string some ribbon through later and I carved the year on one side and her name on the other.

Then I popped it into the oven and baked it for an amount of time that I wish I had written down! Oops. I do know that it wasn’t very long.
After it was done baking and cooling off, we sprayed it with varnish (Varathane Polyurethane in a clear gloss). This part took the most time. We sprayed the front and then left it to dry for 24 hours before spraying the back and allowing it to dry for 24 hours. Then just for good measure, we sprayed the front again and then the back again, waiting 24 hours in between.
I didn’t use the Sculpey glaze stuff that was used in the tutorial simply because I already had a can of varnish on hand.
I didn’t have to buy any ribbon either, so this priceless ornament only cost me $2 and some change.

Not only does it look great on our Christmas tree, but it also looked pretty good when I hung it on Petal’s collar. 😉

My gorgeous girl.
I love those taller-than-the-mountains bunny ears!
Merry Christmas Eve everyone!
♥


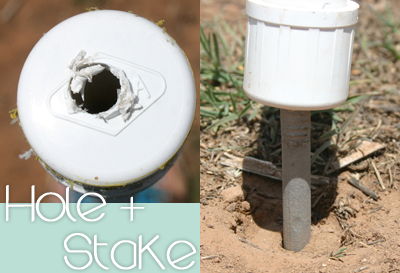
Saturday my Dad drilled holes in the PVC pipe caps so I could thread the stakes through them. I wanted to stake these weave poles into the ground rather than making a base for them for two reasons:
1) My first set of weave poles had a base made of PVC pipe and that worked out perfectly at our old home where we had a garage and a basement to stash them in when the wind got insane. However, once we moved to our current location, with no garage and no basement, the weave poles blew away long before Petal even arrived. Hopefully these ones won’t be going anywhere.
2) I think (and, again, hope) this will make them easier to pack up and move with.
Voilà! Finally finished!

There are a total of 12 poles.
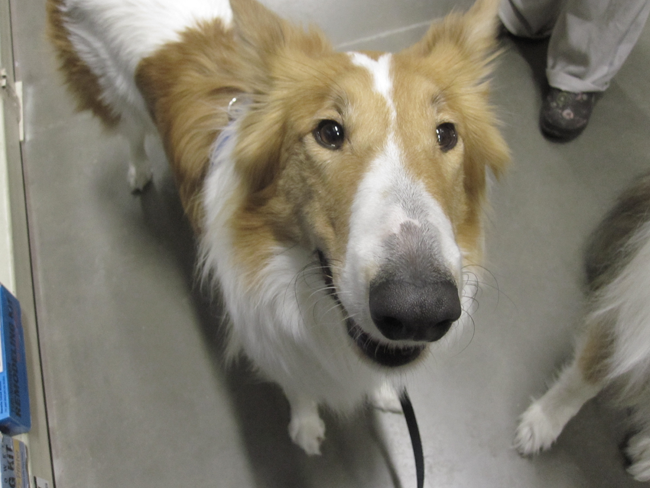
Petal is already practicing (so is Lassie and even Penny, but I don’t have any pictures of them).
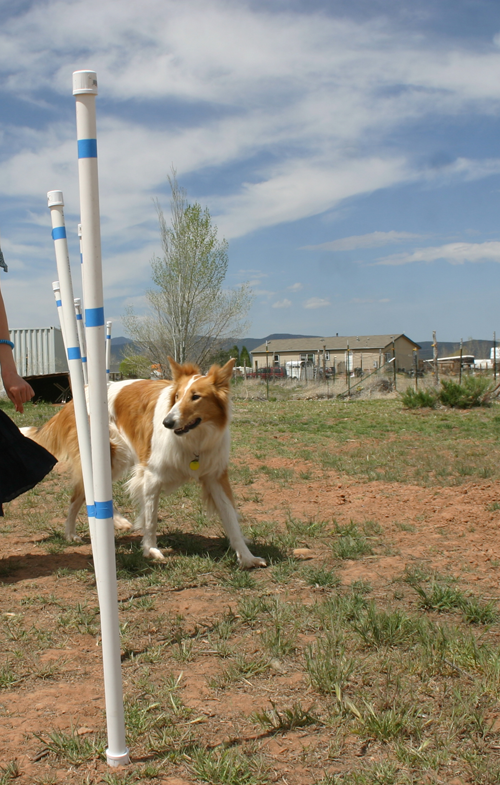
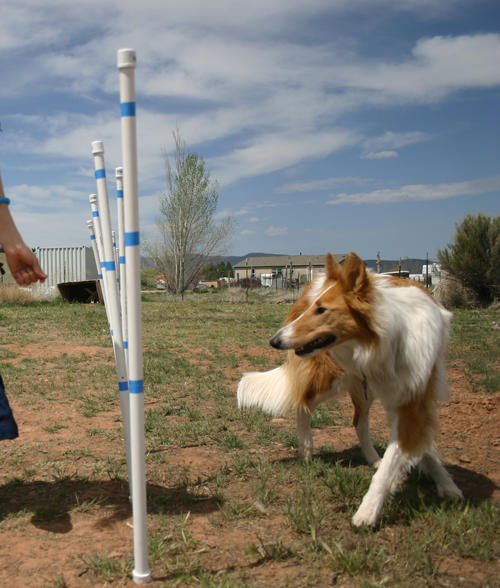
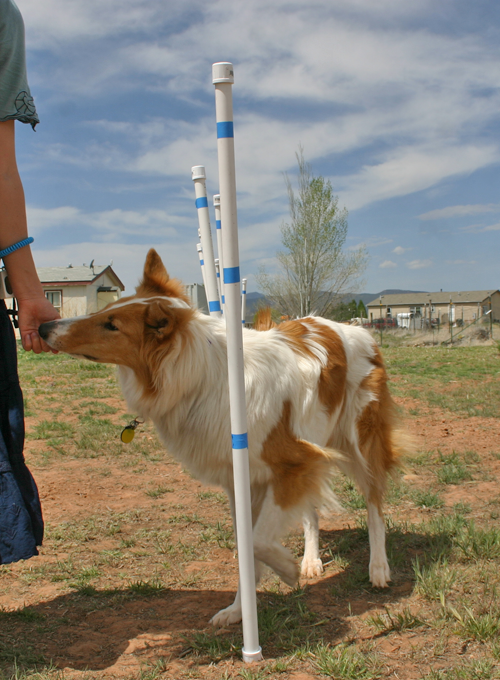
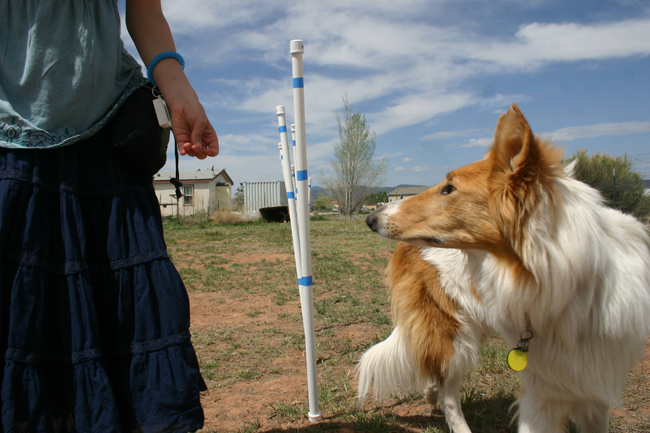
At first I could tell by the look on her face that she thought I had gone completely nutty, but she’s already starting to grasp what’s going on here and I think she’s starting to have fun with it.


